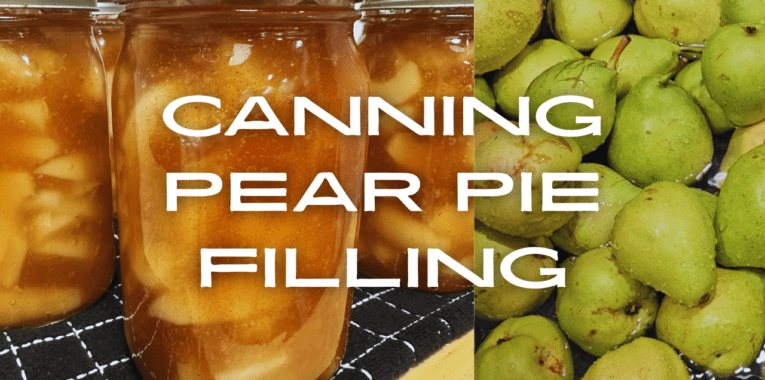
It’s pear season here in the southern United States, and that means it’s time to figure out how to preserve pears! In this post, I’ll teach you how to make pear pie filling for canning!
If you look in your safe, approved canning books, you’re not likely to find a pear pie filling recipe. However, according to North Dakota State University, you may safely:
“Substitute peaches for nectarines, or apples for pears, and vice versa with the same tasty result.”
As an Amazon Affiliate, I earn from qualifying purchases.
What Do I Need to Can Pear Pie Filling?
To make this peach butter you need jars, clean, new lids, and bands. You must also use ClearJel, which is a modified food starch. You can purchase it in a 1.5 pound container, but, if you plan on making more than one or two batches of pie filling, I recommend purchasing the 3 pound bag.
A fruit peeler will also come in handy for the recipe! I use a KitchenAid attachment to make the job faster!
I also highly recommend purchasing either a steam canner or the Ball freshTECH Electric Water Bath Canner and Multi-Cooker, if you are interested in another way to save stovetop space or if you have a glass stovetop and don’t want to put a heavy canner on top of it. I use the steam canner or the Ball Water Bath Canner exclusively for anything I that doesn’t need to be pressure canned.
The best feature of the Ball Water Bath Canner is that it can easily hold 12-14 half-pint jars!
Recipe Video
Recipe
This recipe has been safely modified from the Apple Pie Filling Recipe in the So Easy to Preserve Book.
Ingredients
Instructions
First, blanch your pear slices by placing about 1 quart at a time in boiling water, boiling for 1 minute, then removing from the boiling water and placing into a covered bowl to keep warm.
While blanching pears, combine remaining ingredients, except lemon juice, in a large stockpot.
Bring to a boil, stirring constantly.
Once mixture begins bubbling, add lemon juice and continue cooking/boiling for 1 minute.
Remove stockpot from heat and fold in hot, blanched pears.
Store in refrigerator or continue with canning instructions.
Canning Instructions
Fill clean, warm jars with pie filling, making sure to leave 1-inch headspace.
Clean jar rim off to ensure no pie filling is on it.
Put a clean lid on and screw on band until fingertip tight.
Put in water bath canner or steam canner.
Fill remaining jars until pie filling is gone.
Process in a water bath canner for 25 minutes, adjusting for altitude.
Remove jars and set on towel or wooden cutting board to cool for 12-24 hours.
Remove bands and check seals. If any jars failed to seal, store in refrigerator and use first.
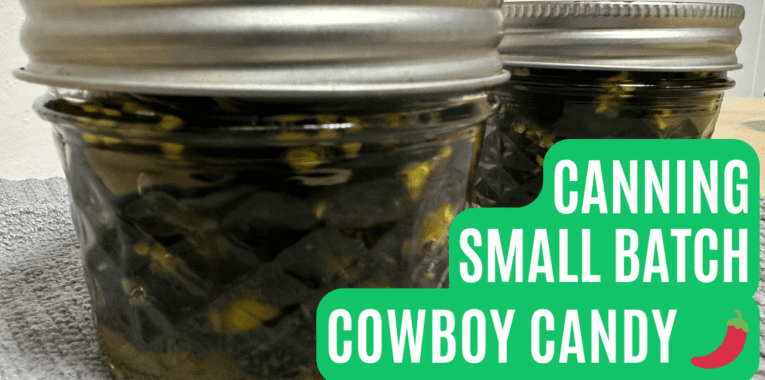
Did you know you can make a small batch of cowboy candy, or “candied jalapeños,” even with just a few jalapeños? In this post, I’ll show you how to use this safe, tested recipe to make something delicious with those jalapeños!
How Can I Use Cowboy Candy?
The possibilities are truly endless when it comes to how to eat cowboy candy! Here are some ideas:
Mixed into deviled eggs or a cheese ball
In potato, egg, or pasta salad
With cream cheese and crackers
On a sandwich
In corn bread, tacos, or burritos
As a baked potato, chili, or pizza topper
In jalapeno popper dip or cheese dip
If you have leftover brine, you can also can it and use it to make homemade barbeque sauce and pickle eggs or to baste meat with!
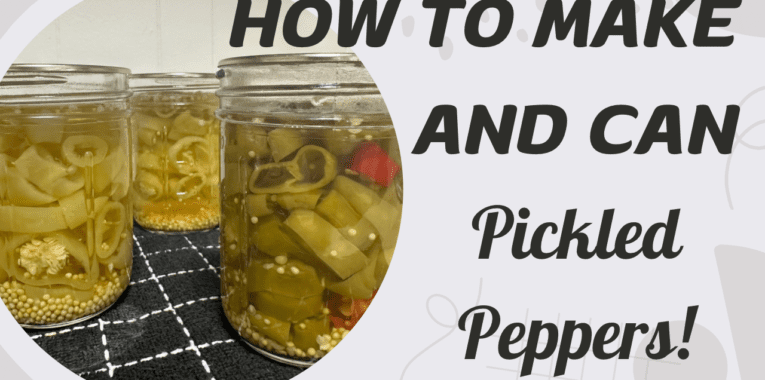
Pickled peppers are one of my favorite things to can! They’re fast, easy, and a delicious, shelf-stable topping for pizza and burritos! Canning pickled peppers doesn’t take a lot of prep work, and, because they’re acidic, they can be canned in a water bath canner.
As an Amazon Affiliate, I earn from qualifying purchases.
What Kind of Peppers Do I Need?
The good news is that pretty much any small pepper can be pickled and canned this way! Anything from jalapenos to banana peppers and Thai chilis to dragon roll peppers are perfectly suited for pickling.
How Many Peppers Do I Need?
This recipe makes enough brine to cover about 2.5 pounds of peppers, but you can double or even triple this recipe if you have enough peppers!
How Do I Keep My Peppers From Getting Mushy?
Pickled peppers are notorious for getting mushy once they’re canned because they have to be processed in a boiling water bath canner. To combat the mushiness, I recommend adding calcium chloride (also called Pickle Fresh by Hoosier Farms or Pickle Crisp by Ball) to your jars after adding the peppers and before adding the brine.
Just add 1/8 teaspoon to each pint-sized jar or 1/16 teaspoon to each half-pint-sized jar!
In a large pot, combine apple cider vinegar, white vinegar, water, and salt.
Heat over medium heat.
While waiting for your brine to come up to a boil, cut your peppers into 1/4-inch-wide rounds.
Once the brine has come up to a boil, fill a hot jar with peppers, leaving 1/2-inch headspace.
If using seasonings or spices, add them now. You can add up to 1/2 Tbsp celery seed, 1 Tbsp mustard seed, 1/4 tsp red pepper flakes, and/or 1/8 tsp calcium chloride to each pint-sized jar.
Pour brine over peppers, leaving 1/2-inch headspace.
Clean jar rim off.
Put a clean lid on and screw on band until fingertip tight.
Put in water bath canner.
Fill remaining jars until peppers are gone.
Process in a water bath canner for 10 minutes, adjusting for altitude.
Remove jars and set on towel or wooden cutting board to cool for 12-24 hours.
Remove bands and check seals. If any jars failed to seal, store in refrigerator and use first.
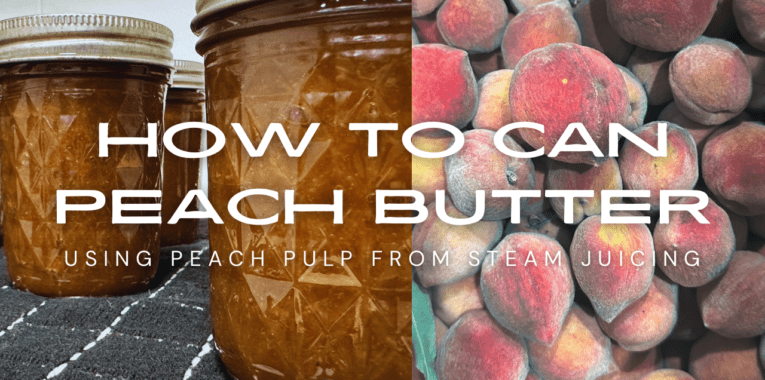
Peach butter is my absolute favorite way to preserve peaches! It’s peach-y, cinnamon-y, and oh-so-delicious! If you have a steam juicer, this is a great way to use up the leftover peach pulp.
Another reason I love using the leftover peach pulp from the steam juicer is because most of the juice has been extracted. That means you don’t have to wait for hours for the peach butter to reduce!
Using Pulp From the Steam Juicer
If you have ever used a steam juicer, then you know that, after the juice is extracted from the fruit, you’re left with a ton of pulp! Most people recommend throwing it out, but, if you’re like me, then throwing out that pulp isn’t an option. That’s why I decided to make peach butter with it!
The concern with using leftover pulp from steam juicing is that there won’t be much flavor left. So, instead of letting my steam juicer run until there was absolutely no juice left in my peaches, I took it off of the heat once the juice production started slowing down.
For another way to use leftover fruit pulp, check out my fruit leather recipe here!
Can I Change the Spices?
You may add up to 3 teaspoons of cinnamon, nutmeg, or cloves, or you can leave the spices out altogether!
As an Amazon Affiliate, I earn from qualifying purchases.
What Do I Need to Can Peach Butter?
To make this peach butter you need jars, clean, new lids, and bands! If haven’t read my post about my favorite canning supplies, I recommend taking a look for items that will make canning this recipe easier!
You will also need a food mill (I use one that attaches to my KitchenAid Mixer) and a steam juicer!
I also highly recommend purchasing either a steam canner or the Ball freshTECH Electric Water Bath Canner and Multi-Cooker, if you are interested in another way to save stovetop space or if you have a glass stovetop and don’t want to put a heavy canner on top of it. I use it exclusively for anything I water bath can. The best feature of this canner is that it can easily hold 12-14 half-pint jars! For this particular recipe, I was able to make 11 half-pint jars and 7 quarter-pint jars of plum jelly by stacking my jars!
Put 8 cups of milled peach pulp into a large stockpot.
Heat over medium heat until warmed through.
Add sugar and spices, stirring until sugar has dissolved.
Lower heat to low to medium heat and stir continuously.
Once peach butter mounds on spoon (only took about 10-12 minutes for me), you are ready to store the butter in the refrigerator or continue with canning instructions.
Canning Instructions
Fill clean, warm jars with peach butter, making sure to leave 1/4-inch headspace.
Clean jar rim off to ensure no butter is on it.
Put a clean lid on and screw on band until fingertip tight.
Put in water bath canner.
Fill remaining jars until butter is gone.
Process in a water bath canner for 10 minutes, adjusting for altitude.
Remove jars and set on towel or wooden cutting board to cool for 12-24 hours.
Remove bands and check seals. If any jars failed to seal, store in refrigerator and use first.
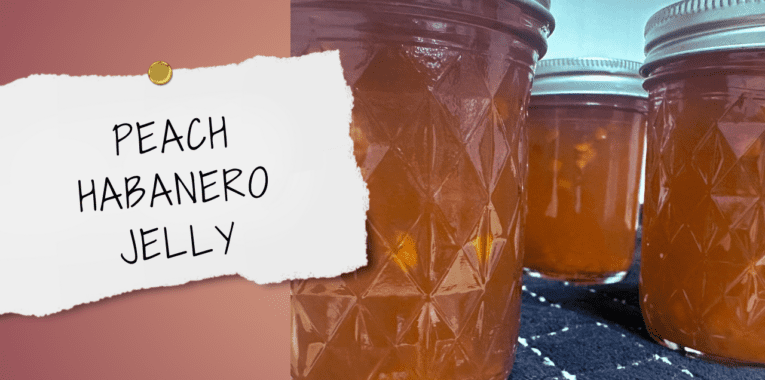
This peach habanero jelly is delicious, with the perfect amount of sweet and heat! You can modify the heat if you’re not quite brave enough to use an entire 1/2 cup of habanero peppers, and I’ll explain how to do that later in the post!
One of my best sellers is Habanero Gold Jelly, which is a Ball recipe. While it is absolutely delicious, it is also chock full of sugar. One half-pint jar contains about 200 grams of added sugar! This recipe is great if you’re looking for a lower sugar option, with only about 50 grams of sugar in one half-pint jar!
How to Use Peach Habanero Jelly
A popular way to use habanero jelly is over cream cheese as a sort of dip/topping for crackers. But there are so many ways to use it! Here’s a list of my customers’ favorite ways to use peach habanero jelly:
Over baked salmon
A baste for ribs or any kind of BBQ
A sauce for wings
A glaze for pork chops
On cornbread
A replacement chili sauce dip for egg/spring rolls–mix with a little vinegar to make it saucier
A mix in for a piña colada
As an Amazon Affiliate, I earn from qualifying purchases. If you purchase a product following my link, the price will not change, and I only recommend products that I use and love.
You also need Pomona’s Universal Pectin for this recipe, which is formulated specifically for low- or no-sugar canning recipes. Since I use Pomona’s quite often, I purchase the pectin powder in bulk. You can find the bulk version here.
I also highly recommend purchasing either a steam canner or the Ball freshTECH Electric Water Bath Canner and Multi-Cooker, if you are interested in another way to save stovetop space or if you have a glass stovetop and don’t want to put a heavy canner on top of it. I use it exclusively for anything I water bath can. The best feature of this canner is that is can easily hold 12-14 half-pint jars!
Reducing the Spice
If you prefer a milder jam, swap a portion of the habanero for yellow or orange bell peppers. It is safe to swap pepper varieties. However, you must keep the amount the same. So, whatever peppers you choose to use, make sure you’re only using 1-cups-worth of peppers total in the recipe.
This safe, tested recipe from Ball and Bernardin is a fruity, delicious way to preserve peaches! This is a great option if your family doesn’t eat a lot of jam or jelly and the best part is that it’s easily customizable!
How To Safely Customize Peach BBQ Sauce
First, you can swap out the apple cider vinegar for a vinegar of your choice, as long as it is still diluted to 5% acidity. It must be at least 5% acidity, which you can check on the ingredients list on the bottle.
Second, you may safely replace the sweet bell peppers for any other kind of pepper! That means a different color, a different level on the Scoville scale, a sweet pepper for a hot or super hot pepper, etc.!
And, finally, you may add to or take away from the amount of red pepper flakes you use in your sauce within reason. I personally would only add about 1 teaspoon extra of dry spices to ensure I didn’t add too much non-acidic ingredients and throw off the pH balance that makes a recipe safe for water bath canning.
How To Use Peach BBQ Sauce
The Ball Complete Book of Home Preserving says this sauce is delicious on chicken and fish, but my family loves it on pork! It’s extra delicious as a marinade on smoked or grilled meats, and the combination of the sweet peach and the bite from the vinegar and pepper flakes blend beautifully!
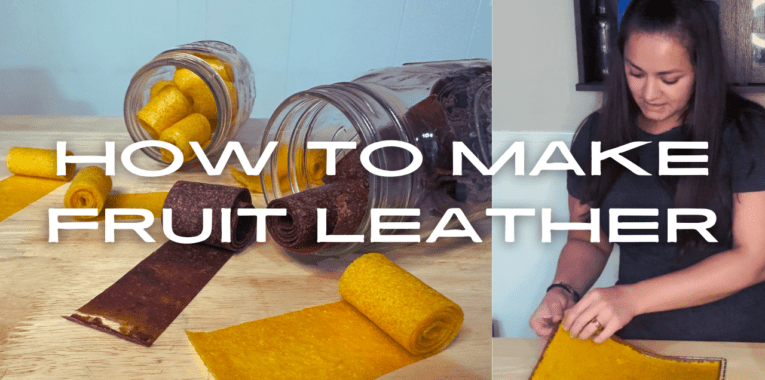
Fruit leather is a great way to ensure no fruit goes to waste, including fruit you have juiced with your steam juicer! You can customize flavors and even add protein powder, if you desire!
As an Amazon Affiliate, I earn from qualifying purchases.
Customizing Fruit Leather
The flavor possibilities are endless when it comes to fruit leather! I’ve included the ingredients I used to make peanut butter apple fruit leather and pineapple mango fruit leather, but use your creativity to come up with flavors you would like and enjoy!
The most important thing is to keep your mixture an applesauce consistency. You want it to be spreadable–not too runny and not too thick.
I also recommend investing in a steam juicer if you plan on doing much canning/jelly making. The reason I made fruit leather this week is because I had leftover plum pulp from making plum jelly! I wanted to use that pulp instead of throwing it away, and it worked perfectly in my peanut butter apple (plum) fruit leather!
Recipe Video
Fruit Leather Recipe
Peanut Butter and Apple Fruit Leather Ingredients
Pineapple Mango Fruit Leather Ingredients
Instructions
In a food processor, combine ingredients until smooth.
If you desire a smoother texture, use an immersion blender until desired texture is reached.
After 14 hours, check fruit leather. You should be able to easily peel it off of the silicone sheets and it should be sticky to the touch, but not wet. If it is still wet, dehydrate at 110 degrees Fahrenheit for two more hours or until dehydrated properly.
This low sugar plum jelly is a perfect mix of tart and sweet! It’s super easy (and fast) to make using a steam juicer!
How Much Fruit Do I Need?
One thing that always frustrates me about canning recipes is trying to figure out how much fruit I need. But that’s where this recipe really shines! You need as much fruit as you have or want to get! The necessary pectin, calcium water, sugar, and lemon juice is added per cup of juice, so it doesn’t matter if you have 2 cups or 20 cups of juice, you can still use this recipe!
As an Amazon Affiliate, I earn from qualifying purchases.
Supplies to Make Plum Jelly
To make this plum jelly, you need jars, clean, new lids, and bands! If haven’t read my post about my favorite canning supplies, I recommend taking a look for items that will make canning this recipe easier!
You also need Pomona’s Universal Pectin for this recipe, which is formulated specifically for low- or no-sugar canning recipes. Since I use Pomona’s quite often, I purchase the pectin powder in bulk. You can find it available in bulk here.
A steam juicer makes this project so much faster, and I absolutely love mine! If you plan on making much juice and/or jelly, a steam juicer is definitely worth the investment.
I also highly recommend purchasing either a steam canner or the Ball freshTECH Electric Water Bath Canner and Multi-Cooker, if you are interested in another way to save stovetop space or if you have a glass stovetop and don’t want to put a heavy canner on top of it. I use it exclusively for anything I water bath can. The best feature of this canner is that it can easily hold 12-14 half-pint jars! For this particular recipe, I was able to make 11 half-pint jars and 7 quarter-pint jars of plum jelly by stacking my jars!
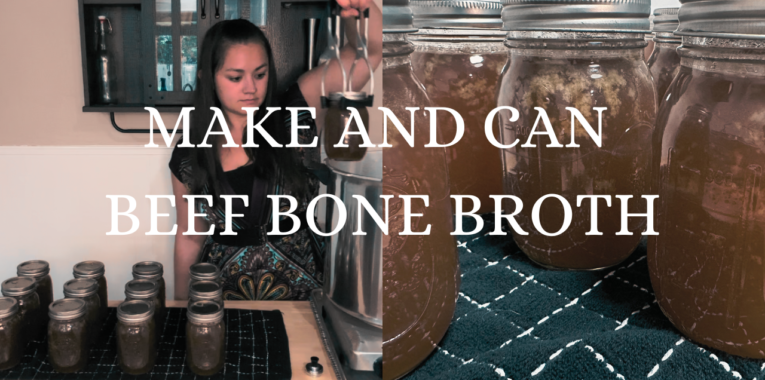
Bone broth is a great way to ensure nothing goes to waste in your kitchen and, as a bonus, it’s delicious and nutritious too! Bone broth might take some time to develop that delicious, rich flavor, but its mostly hands-off time!
Waste-Free Bone Broth
Making bone broth gives you a way to use bones and veggie scraps that would otherwise be thrown away. You can use bones from the butcher, leftover from a meal, or from a rotisserie chicken!
Sam’s and Costco have $5 rotisserie chickens, and we’ll often pick one up when we’re running errands. I put the bones in a reusable freezer bag and store them in the freezer until I have enough to make broth.
For veggie scraps, I save carrot peels and tops, onion tops, bell pepper cores, and celery stalk leaves! I also store these in the freezer until I’m ready to make broth.
Bone Broth Recipe Steps
1. Roast the bones and vegetable scraps.
First, you need to roast the bones and vegetable scraps. Just put your bones and veggie scraps in a single layer on a baking tray(s) and roast at 450 degrees Fahrenheit for about an hour, turning the bones over halfway through.
2. Put the roasted bones and scraps in a pot to simmer.
You can use a slow cooker, a pot on the stovetop, an Instant Pot, or, my personal favorite, an electric roaster! Cover the bones and veggie scraps with water, add in 1 1/2 cups apple cider vinegar, and any aromatics you want. I usually keep it simple and only add some bay leaves and whole peppercorns.
3. Simmer as long as you want!
I love letting my broth simmer over a day. It smells delicious and I know it’s just making the final product richer and more nutritious the longer it goes!
4. Let cool slightly, then remove bones and strain the broth.
Take your broth off of the heat and leave uncovered for 1-2 hours to cool. Then, remove bones and strain the broth.
5. Cool in the refrigerator overnight or until fat solidifies on top.
Cool the broth in the refrigerator overnight or until the fat solidifies on top. Even if you can palate consuming this fat, you definitely do not want to skip this step if you’re planning on canning or freezing your broth! The fat can go rancid faster than the broth, even in the freezer, and, when canning, the lids can fail to seal if any of that fat gets under the seal.
6. Remove fat from top of broth.
Once the broth has cooled and the fat has solidified on top, remove the fat. I use a slotted spoon to scoop out the large chunks of fat and a small, fine mesh strainer to skim the little pieces of fat off the top.
7. Consume, freeze, or reheat if you’re canning the broth.
At this point, you can either drink the broth or use it to cook with. You can also freeze the broth if you have the freezer space, or reheat the broth if you’re planning on canning it!
Canning Bone Broth
If you want to can the delicious bone broth you just made to consume later, you must pressure can it. Water bath canning is reserved only for acidic foods, like most jams, jellies, and pickles, and it is not safe to water bath can non-acidic foods. I will include canning instructions below. Check out my must-have canning supplies post here!
Recipe Video
Making and Canning Bone Broth
Ingredients
Instructions
Preheat oven to 450 degrees Fahrenheit.
Arrange bones and vegetable scraps in a single layer on a baking tray(s).
Roast in preheated oven for one hour, turning halfway through.
Once bones have browned and vegetables smell aromatic, put into a stock pot, slow cooker, or electric roaster.
Simmer for 24-36 hours.
Remove from heat and allow to cool.
Once cooled slightly, remove bones and strain the broth.
Set in refrigerator overnight or until fat solidifies on top.
Once the broth has cooled and the fat has solidified on top, remove the fat using a slotted spoon to scoop out the large chunks of fat and a small, fine mesh strainer to skim the little pieces of fat off the top.
Consume, freeze, or reheat if you’re canning the broth.
Canning Instructions
Reheat broth to boiling.
While broth is reheating, prepare pressure canner according to instructions that came with your canner.
Once broth is boiling, fill pint- or quart-sized jars, leaving 1-inch headspace.
Apply a new, clean lid and a band fingertip tight.
Put jar in canner.
Once jars are filled and in the canner, put the lid on and process according to the instructions that came with your canner.
Once pressure canner comes up to pressure, process 20 minutes for pints or 25 for quarts at 10 pounds PSI if you live at 1,000 feet or less above sea level or 15 pounds PSI if you live above 1,000 feet above sea level. For dial-gauge pressure canners, follow these instructions.
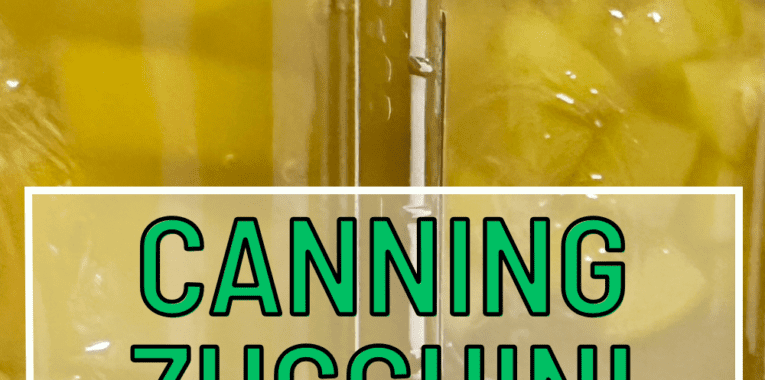
This zucchini pineapple canning recipe is a great way to use up extra zucchini! It’s delicious in pineapple upside down cake, quick breads, on pizza, and in vegetable stir fry!
As an Amazon Affiliate, I earn from qualifying purchases.